brewing · Cider
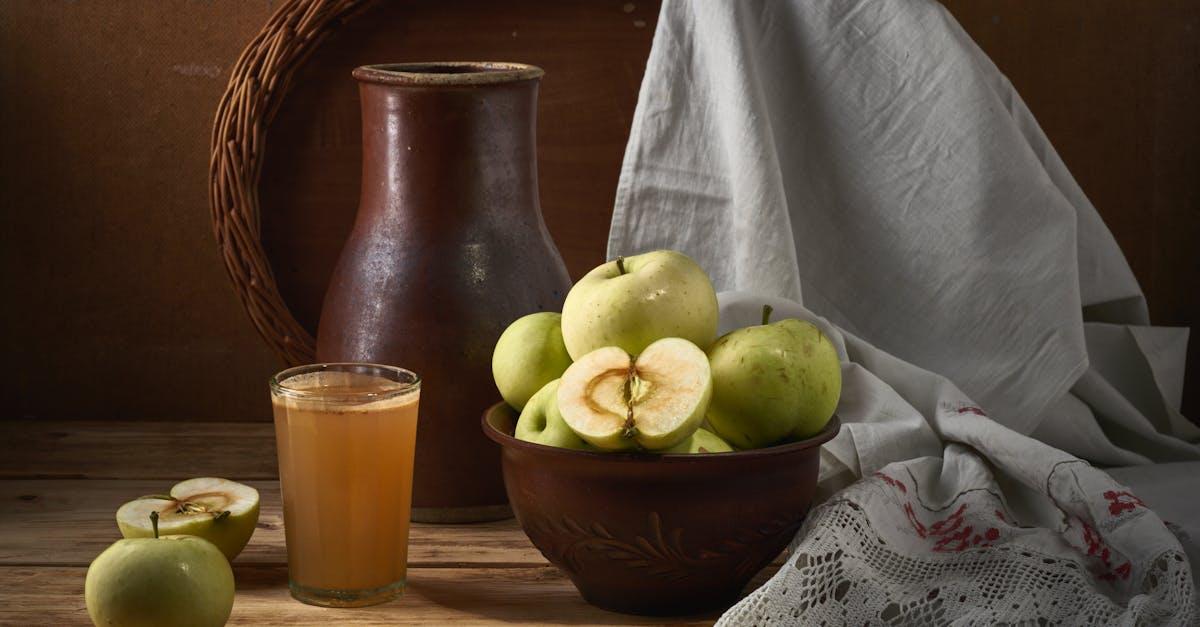
Dry Hard Cider
The easiest fermented beverage: apple juice plus yeast. Gluten-free, budget-friendly, and a perfect first fermentation project.
Nutrition (per serving)
150
Calories
1g
Protein
12g
Carbs
0g
Fat
0g
Fiber
Ingredients
Method
-
Choose your juice. This is the most important step. Read the label — the juice must not contain potassium sorbate or sodium benzoate, which are preservatives that prevent fermentation by inhibiting yeast. Ascorbic acid (vitamin C) is fine. Pasteurized juice works perfectly. For the best flavor, use fresh-pressed cider from an orchard or farmers market — the blend of apple varieties creates complexity.
-
Sanitize and pitch. Sanitize a 1-gallon glass jug and airlock. Pour out (or drink) about 1 cup of juice to create headspace for fermentation foam. If using brown sugar, dissolve it in the removed juice, warm gently, and pour it back. Sprinkle the yeast directly into the jug. Attach the airlock. That is it — you have just started making alcohol.
-
Ferment (10–14 days). Place the jug in a dark spot at 60–72°F. Within 24 hours, you will see bubbles in the airlock — each bubble is CO2 escaping as yeast converts fructose and glucose into ethanol. Fermentation will be vigorous for 3–5 days, then slow. After 10 days, the cider will be visibly clearer and the airlock will bubble only occasionally.
-
Taste and decide. After 14 days, taste the cider. It will be dry — the yeast has consumed nearly all the sugar. If you want it sweeter, you have two options: (a) back-sweeten with apple juice concentrate after adding potassium sorbate to prevent refermentation, or (b) cold crash the jug in the refrigerator for 48 hours to drop the yeast out, then drink it young and slightly sweet.
-
Bottle or drink. For still cider, siphon into sanitized bottles and refrigerate. For carbonated cider, add 1 tsp sugar per 16 oz bottle, cap tightly, and leave at room temperature for 3–5 days. Refrigerate before opening — the carbonation can be vigorous. Your cider will be approximately 5–6% ABV (or 6–7% with the brown sugar addition).
Equipment Required
- Glass carboy or fermentation jug (1 gallon to start, or 5 gallon)
- Airlock and bung
- Sanitizer (Star San)
- Auto-siphon and tubing
- Hydrometer (optional but recommended)
- Bottles and caps or swing-top bottles Recommended: Chef's Star 16oz Swing-Top Glass Bottles (Set of 6)
Chef Notes
- The most important thing: Use unpasteurized apple cider with no preservatives for the most complex flavor.
- Champagne yeast ferments drier than ale yeast. Back-sweeten with juice concentrate if you want sweetness.
- Fermentation takes 2-4 weeks at room temperature.
- Bottle in swing-top bottles for natural carbonation.
Common Substitutions
| Ingredient | Substitution | Notes |
|---|---|---|
| Ale yeast | Lager yeast (ferment at 50-55°F) | Completely different flavor profile — lager is cleaner |
| Corn sugar (priming) | Table sugar or honey | All work for carbonation — honey adds subtle flavor |
| Specialty grains | Liquid malt extract | Extract brewing is simpler — skip the mash step entirely |
| Glass carboy | Food-grade plastic bucket | Plastic is lighter and won't shatter — glass is easier to sanitize |
What You're Practicing
Hard cider is fermentation stripped to its essence — sugar, water, yeast, time. There is nowhere to hide mistakes, which makes it the ideal learning project. You are observing yeast metabolism in real time: Saccharomyces cerevisiae consumes simple sugars (glucose and fructose) and produces ethanol and CO2 as metabolic byproducts. The preservative check teaches you about antimicrobial chemistry — sorbate inhibits yeast cell membrane function, which is why it prevents fermentation. Temperature affects fermentation speed and flavor: cooler temps produce cleaner, more apple-forward cider; warmer temps ferment faster but can produce fusel alcohols (harsh, hot flavors). The back-sweetening decision introduces you to residual sugar management — the same concept that distinguishes dry from sweet wine. This is the foundation of all Fermentation Science. If you can make cider, you can make anything.
Video Resources
Some equipment and ingredient links are affiliate links. We earn a small commission at no extra cost to you. Learn more
Comments (0)
Sign in to commentNo comments yet. Be the first to share your thoughts.
Frequently Asked Questions
- Can I make Dry Hard Cider ahead of time?
- Yes — prep the components up to a day ahead and store covered in the refrigerator. Reheat gently or bring to room temperature before serving.
- How do I store leftover Dry Hard Cider?
- Store in sealed bottles in a cool, dark place. Fermented beverages continue to develop flavor over time — check individual recipe notes for aging guidelines.
- Can I freeze Dry Hard Cider?
- Most fermented beverages should not be frozen. Store according to the specific recipe's aging and storage guidelines.
- How many servings does this recipe make?
- This recipe serves 1 gallon (~10 pint glasses). You can scale the ingredients up or down proportionally — use the Meal Plan servings slider to adjust the grocery list automatically.
- Why does Dry Hard Cider take so long?
- This recipe takes 240 hours because the flavors need time to develop and meld together. The hands-on time is much shorter — most of the cook time is unattended.
- Is Dry Hard Cider dairy free and gluten free and vegetarian?
- Yes — this recipe is dairy free and gluten free and vegetarian. Check the Common Substitutions section for additional dietary adaptations.
- What substitutions can I make for Dry Hard Cider?
- See the Common Substitutions section above for ingredient and equipment swaps with specific trade-off notes for each alternative.
You Might Also Like

American Pale Ale (Extract Brew)
Your first homebrew — an extract American Pale Ale that teaches sanitization, boiling, fermentation, and bottling in one batch.
West Coast IPA (All-Grain)
An advanced all-grain West Coast IPA with 60+ IBUs of piney, citrusy bitterness. Full mash, multi-stage hop schedule.
Bavarian Hefeweizen
A Bavarian Hefeweizen where the yeast does the work — producing banana and clove flavors. Fermentation temperature is everything.

Cabernet Sauvignon (From Kit)
Make Cabernet Sauvignon from a wine kit — the most reliable way to produce excellent red wine at home.